You played 2 hours to die like this? - In-Game Taunt, Age of Empires 2

Halo M6D Magnum

I got an opportunity to participate in the Punished Props Secret Santa Exchange for the first time in 2019, and I put together a 3D printed M6G Magnum from Halo. It featured a working slide and trigger, as well as a removable clip. It was a great pleasure to join in on the prop making fun and deliver not one, but two completed pistols to the awesome @tim_makes. My friend, Tom, helped me with the second model. Painting is not my strong suit since I have red-green colorblindness and it makes color matching difficult.

Model Details


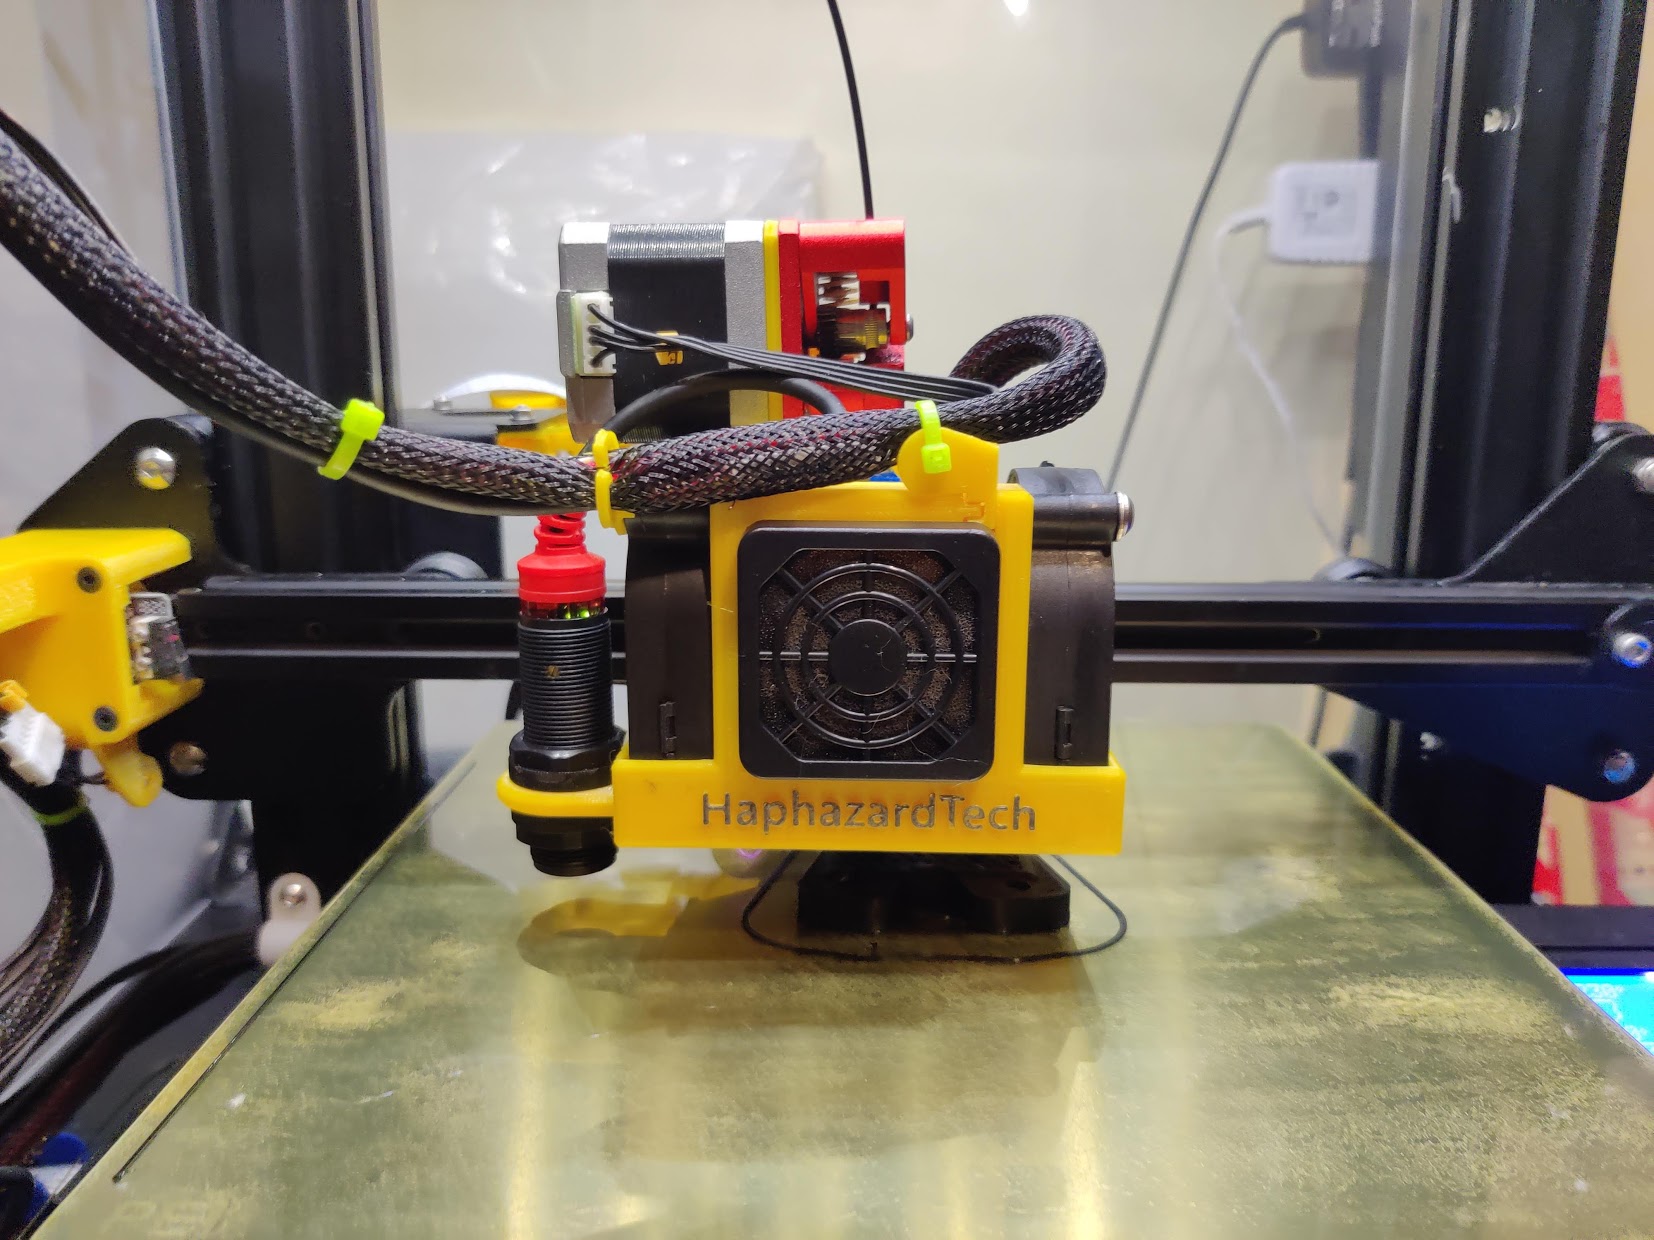
Printer: Creality Ender 3
3D Files: M6D Magnum Sidearm on Thingiverse

Model 1 (Printed on my Ender 3) –
Material: 3D Solutech Silver PLA (Print #1), Filament Friday Black PLA (Print #2)
Paint: Poly-Props SEAL Prime – Black, Poly-Props HEX-ART Metallics – Steel, Poly-Props Valour Clear Coat
Filler: Smooth-On XTC-3D, Bondo Glazing and Spot Putty
Other Materials: Hand-made springs from spring steel wire, Bob Smith CA Glue

Model 2 (Printed on Tom’s Ender 3) –
Material: Inland Blue PLA
Paint: Rustoleum Black Primer, Angelus Acrylic Paints, Angelus Clear Coat
Filler: Bondo Glazing and Spot Putty
Other Materials: Hand-made springs from spring steel wire, Gorilla CA Glue

Build Details


Punished Props Secret Santa 2019
Halo M6D Magnum Replicas, prepared for shipment to @tim_makes

This was my first major 3D printed project, despite having my Ender 3 for some time. I ran into a lot of issues with my printer not being calibrated correctly and the angles were not true. Along with a bit of vibration in the printer and cable management issues, printing was fraught with problems. However, most of my problems were solved and minor defects could be covered during finishing.

First Prototype (Failed)

This one had a number of issues, not the least of which was jitters in the surface and curling issues which caused assembly issues. I believe most parts were discarded. Technically, this was the second model I printed. My original plan involved a stationary M6D that I printed hollow to install electronics, but it didn’t pay off. The model was structurally weak and I didn’t know enough about layering back then.

Test Assembly of the 3D Printed Parts, First Printing Attempt

This was (part of) the first-first prototype model I printed.

Preparing model for priming. Bondo Spot Putty was used to even out the uneven surfaces left by the XTC-3D resin. I can’t seem to find any photos I took with just the XTC-3D layer applied.


The slide was assembled after the main body was primed. You can see the layer of spot putty on the slide handle.

Primed main M6D body.

The HexArt Metallics “Steel” paint sputtered while spraying, which actually left a cool texture behind. Everything was sealed up later with the Valour Clear Coat.

M6D with HexArt Metallics Steel applied.

Ender 3 Enclosure

I built an IKEA LACK Enclosure for my Creality Ender 3.

This was my compromise instead of buying another 3D printer to collect dust in my craft corner while I neglected to even learn the basics. You got me… I wasn’t really going to buy another printer.

I also switched to using PETG Filament which is easy to work with at lower temperatures and less problematic than ABS. 3D printing works more reliably without a lot of temperature fluctuations, in general. I spent a lot of time researching so I could calibrate my prints. After fixing a problem with underextrusion, my prints have been coming out worlds better.

I built my enclosure from three IKEA LACK tables in black and a set of CAPITA legs. These bad boys set me back around $46 with tax. There were only 138 left in stock so of course I got there before they ran out! I did seriously consider the $10 delivery fee, but I would’ve missed out on the joy losing my car in the parking ramp and driving in sleet and ice.

LACK Table – https://www.ikea.com/us/en/p/lack-side-table-black-20011408/
CAPITA – https://www.ikea.com/us/en/p/capita-leg-stainless-steel-60263574/

I sandwiched the first 2 tables together with 7 out of the 8 legs, leaving the front open for storage. The last leg, I cut into 4 equal pieces to extend the next tier. My printer needed about 17″ for clearance and I wanted a little room overhead. I ended up with just a little under 20″ of height for the printer.

OK. I got a little lazy with this build log from here on out! Take a look through the images for build notes.

This double screw holds the legs onto the table. There is *just* enough wood there to be stable.
The tables are mostly layered cardboard with more paper and a little bit of particle board for support. I wouldn’t stand on it to change a light bulb but it works pretty well for a printer stand.
I attached cleats for the leg extensions. Yup, it’s a piece of leftover wood from my cat tower project.
Round 1: Fight! This worked kinda OK a removable top but I wanted something more structurally sound. Also the quality of this (we’ll just call it wood) isn’t that spectacular so it react well to be taken apart.
I opted for more cleats. It gave me something more substantial to attach the legs and corner supports to.
I added lights. It’s a set of Patriot Lighting RGBW 12V lights I bought from Menards with no real purpose in mind. They are craptacular. Don’t buy them. Seriously. They soldered a whole bunch of small sections together. I spent more time desoldering than I care to admit.
The lights aglow with a purple haze.
Added 4 plexiglass panels including a door with 3D printed hinges/handle.
Double magnets for the sides and back panels. The tops have M3 nut knobs for easier panel removal.
I discovered I had one of the early Ender 3 models with bad XT60 connectors. The negative terminal was melted and fused together.
Another shot of the XT60 Connector
I found telltale signs that my extruder was underextruding. Tested and found it was short by 3mm with my PETG filament. I had similar problems with my PLA filament as well.
Top-feeding filament spool. Still need to build a dry box around it. That’s my Octoprint server next to it. Raspberry Pi 3B+ with Octopi Stretch image.
Printed Filament Spool base stand.
Remote for my 12V Cabinet lighting system fitted with leftover badge magnets.