When I'm done, not even the wiliest of babies will be able to get in here. - Elroy "Lucky" Kleinschmidt, King of the Hill

Bongo

Bongo is a Beanie Baby that I’ve had for a very long time — probably since my 20s, I would say. I used to keep him at the office and he’d guard my desk or stare out the window in Downtown Milwaukee, Wisconsin a few years ago. 
This was, essentially, my very first costuming project. 

The challenge was to make outfits for a beanie monkey using items only found in the office. This included a few things I kept at work, like my origami papers but I never brought anything into the office intentionally to make a project.

Count Bongo

Materials: Post-It Note Top Hat in Sharpie Black, CD Sleeve material cape, and Origami paper bangles.

Sir Reginald FeatherBongo

Materials: Post-It Note Top Hat in Sharpie Black (shhh… yes, it’s the same one), Paperclip Lapel Rose, and Paperclip Rose and Coffee Stirrer Cane.
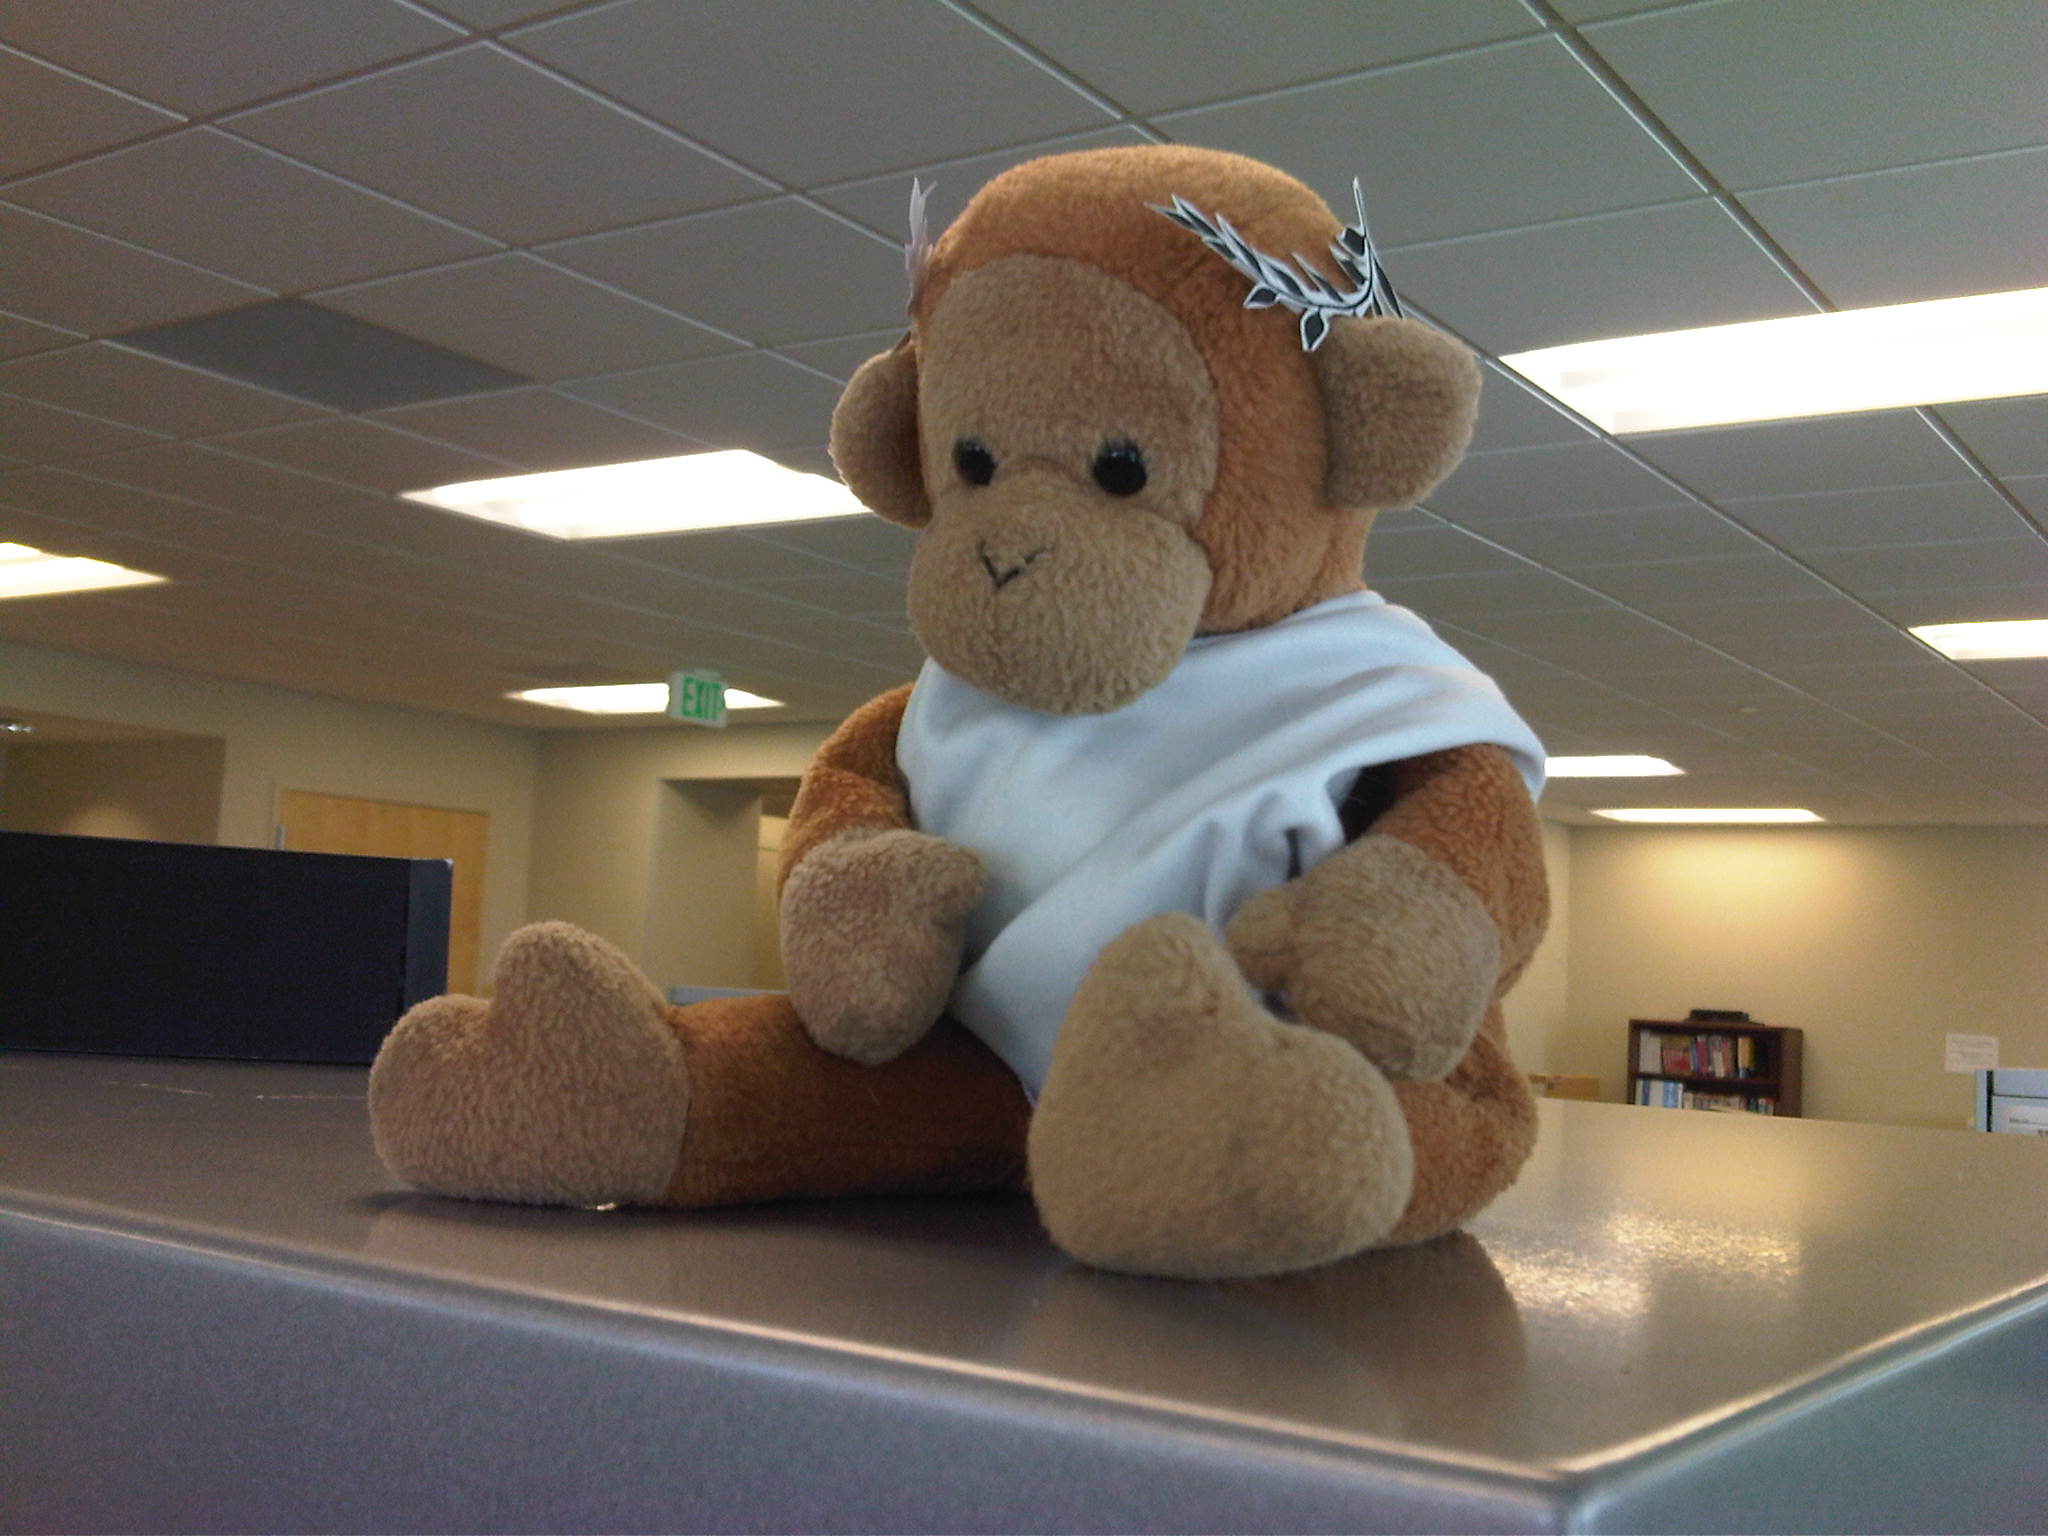
Caesar Bonginus

Materials: Printer Paper Laurel and Eyeglass Cleaning Cloth Toga.

Hattori Bongo

Materials: Origami Samurai Hat made from paper from a failed print job. If you look close, you might be able to make out some postscript errors. Katana made from a Coffee Stirrer, Post-It Note, and a Paperclip.

The Falconer

Materials: Origami Eagle (I don’t know how to make any other birds) with highligher coloring and a napkin arm guard.

King Bong

Materials: Origami Eagle (I don’t know how to make any other birds) with highligher coloring and a napkin arm guard.

The Masked Bongo

Materials: Mask and Cape made from a CD sleeve. One of those ones that Microsoft Volume License media comes in.

Birthday Bongo

Materials: Yes, he does birthdays too! This one might surprise you… paper, paperclip. Boom. Mind blown.

Borf, Son of Mogh

The other, other son of Mogh. Unfortunately, this one has been lost to the ages. He had a Post-It goatee, forehead ridges, and a Batleth wrapped in shiny origami paper 🙁

Ender 3 Enclosure

I built an IKEA LACK Enclosure for my Creality Ender 3.

This was my compromise instead of buying another 3D printer to collect dust in my craft corner while I neglected to even learn the basics. You got me… I wasn’t really going to buy another printer.

I also switched to using PETG Filament which is easy to work with at lower temperatures and less problematic than ABS. 3D printing works more reliably without a lot of temperature fluctuations, in general. I spent a lot of time researching so I could calibrate my prints. After fixing a problem with underextrusion, my prints have been coming out worlds better.

I built my enclosure from three IKEA LACK tables in black and a set of CAPITA legs. These bad boys set me back around $46 with tax. There were only 138 left in stock so of course I got there before they ran out! I did seriously consider the $10 delivery fee, but I would’ve missed out on the joy losing my car in the parking ramp and driving in sleet and ice.

LACK Table – https://www.ikea.com/us/en/p/lack-side-table-black-20011408/
CAPITA – https://www.ikea.com/us/en/p/capita-leg-stainless-steel-60263574/

I sandwiched the first 2 tables together with 7 out of the 8 legs, leaving the front open for storage. The last leg, I cut into 4 equal pieces to extend the next tier. My printer needed about 17″ for clearance and I wanted a little room overhead. I ended up with just a little under 20″ of height for the printer.

OK. I got a little lazy with this build log from here on out! Take a look through the images for build notes.

This double screw holds the legs onto the table. There is *just* enough wood there to be stable.
The tables are mostly layered cardboard with more paper and a little bit of particle board for support. I wouldn’t stand on it to change a light bulb but it works pretty well for a printer stand.
I attached cleats for the leg extensions. Yup, it’s a piece of leftover wood from my cat tower project.
Round 1: Fight! This worked kinda OK a removable top but I wanted something more structurally sound. Also the quality of this (we’ll just call it wood) isn’t that spectacular so it react well to be taken apart.
I opted for more cleats. It gave me something more substantial to attach the legs and corner supports to.
I added lights. It’s a set of Patriot Lighting RGBW 12V lights I bought from Menards with no real purpose in mind. They are craptacular. Don’t buy them. Seriously. They soldered a whole bunch of small sections together. I spent more time desoldering than I care to admit.
The lights aglow with a purple haze.
Added 4 plexiglass panels including a door with 3D printed hinges/handle.
Double magnets for the sides and back panels. The tops have M3 nut knobs for easier panel removal.
I discovered I had one of the early Ender 3 models with bad XT60 connectors. The negative terminal was melted and fused together.
Another shot of the XT60 Connector
I found telltale signs that my extruder was underextruding. Tested and found it was short by 3mm with my PETG filament. I had similar problems with my PLA filament as well.
Top-feeding filament spool. Still need to build a dry box around it. That’s my Octoprint server next to it. Raspberry Pi 3B+ with Octopi Stretch image.
Printed Filament Spool base stand.
Remote for my 12V Cabinet lighting system fitted with leftover badge magnets.

Paper Crafts

Do you like structure activities? Give fold-able paper crafts a try. Look for templates online. They are easy to find!

http://www.cubeecraft.com/

http://www.paperfoldables.com/