Build Materials
Multiple Thicknesses of EVA-38 Foam (TNT)
Steel Rod, 3/8″
Barge TF Contact Cement
Black Leather
Build Process
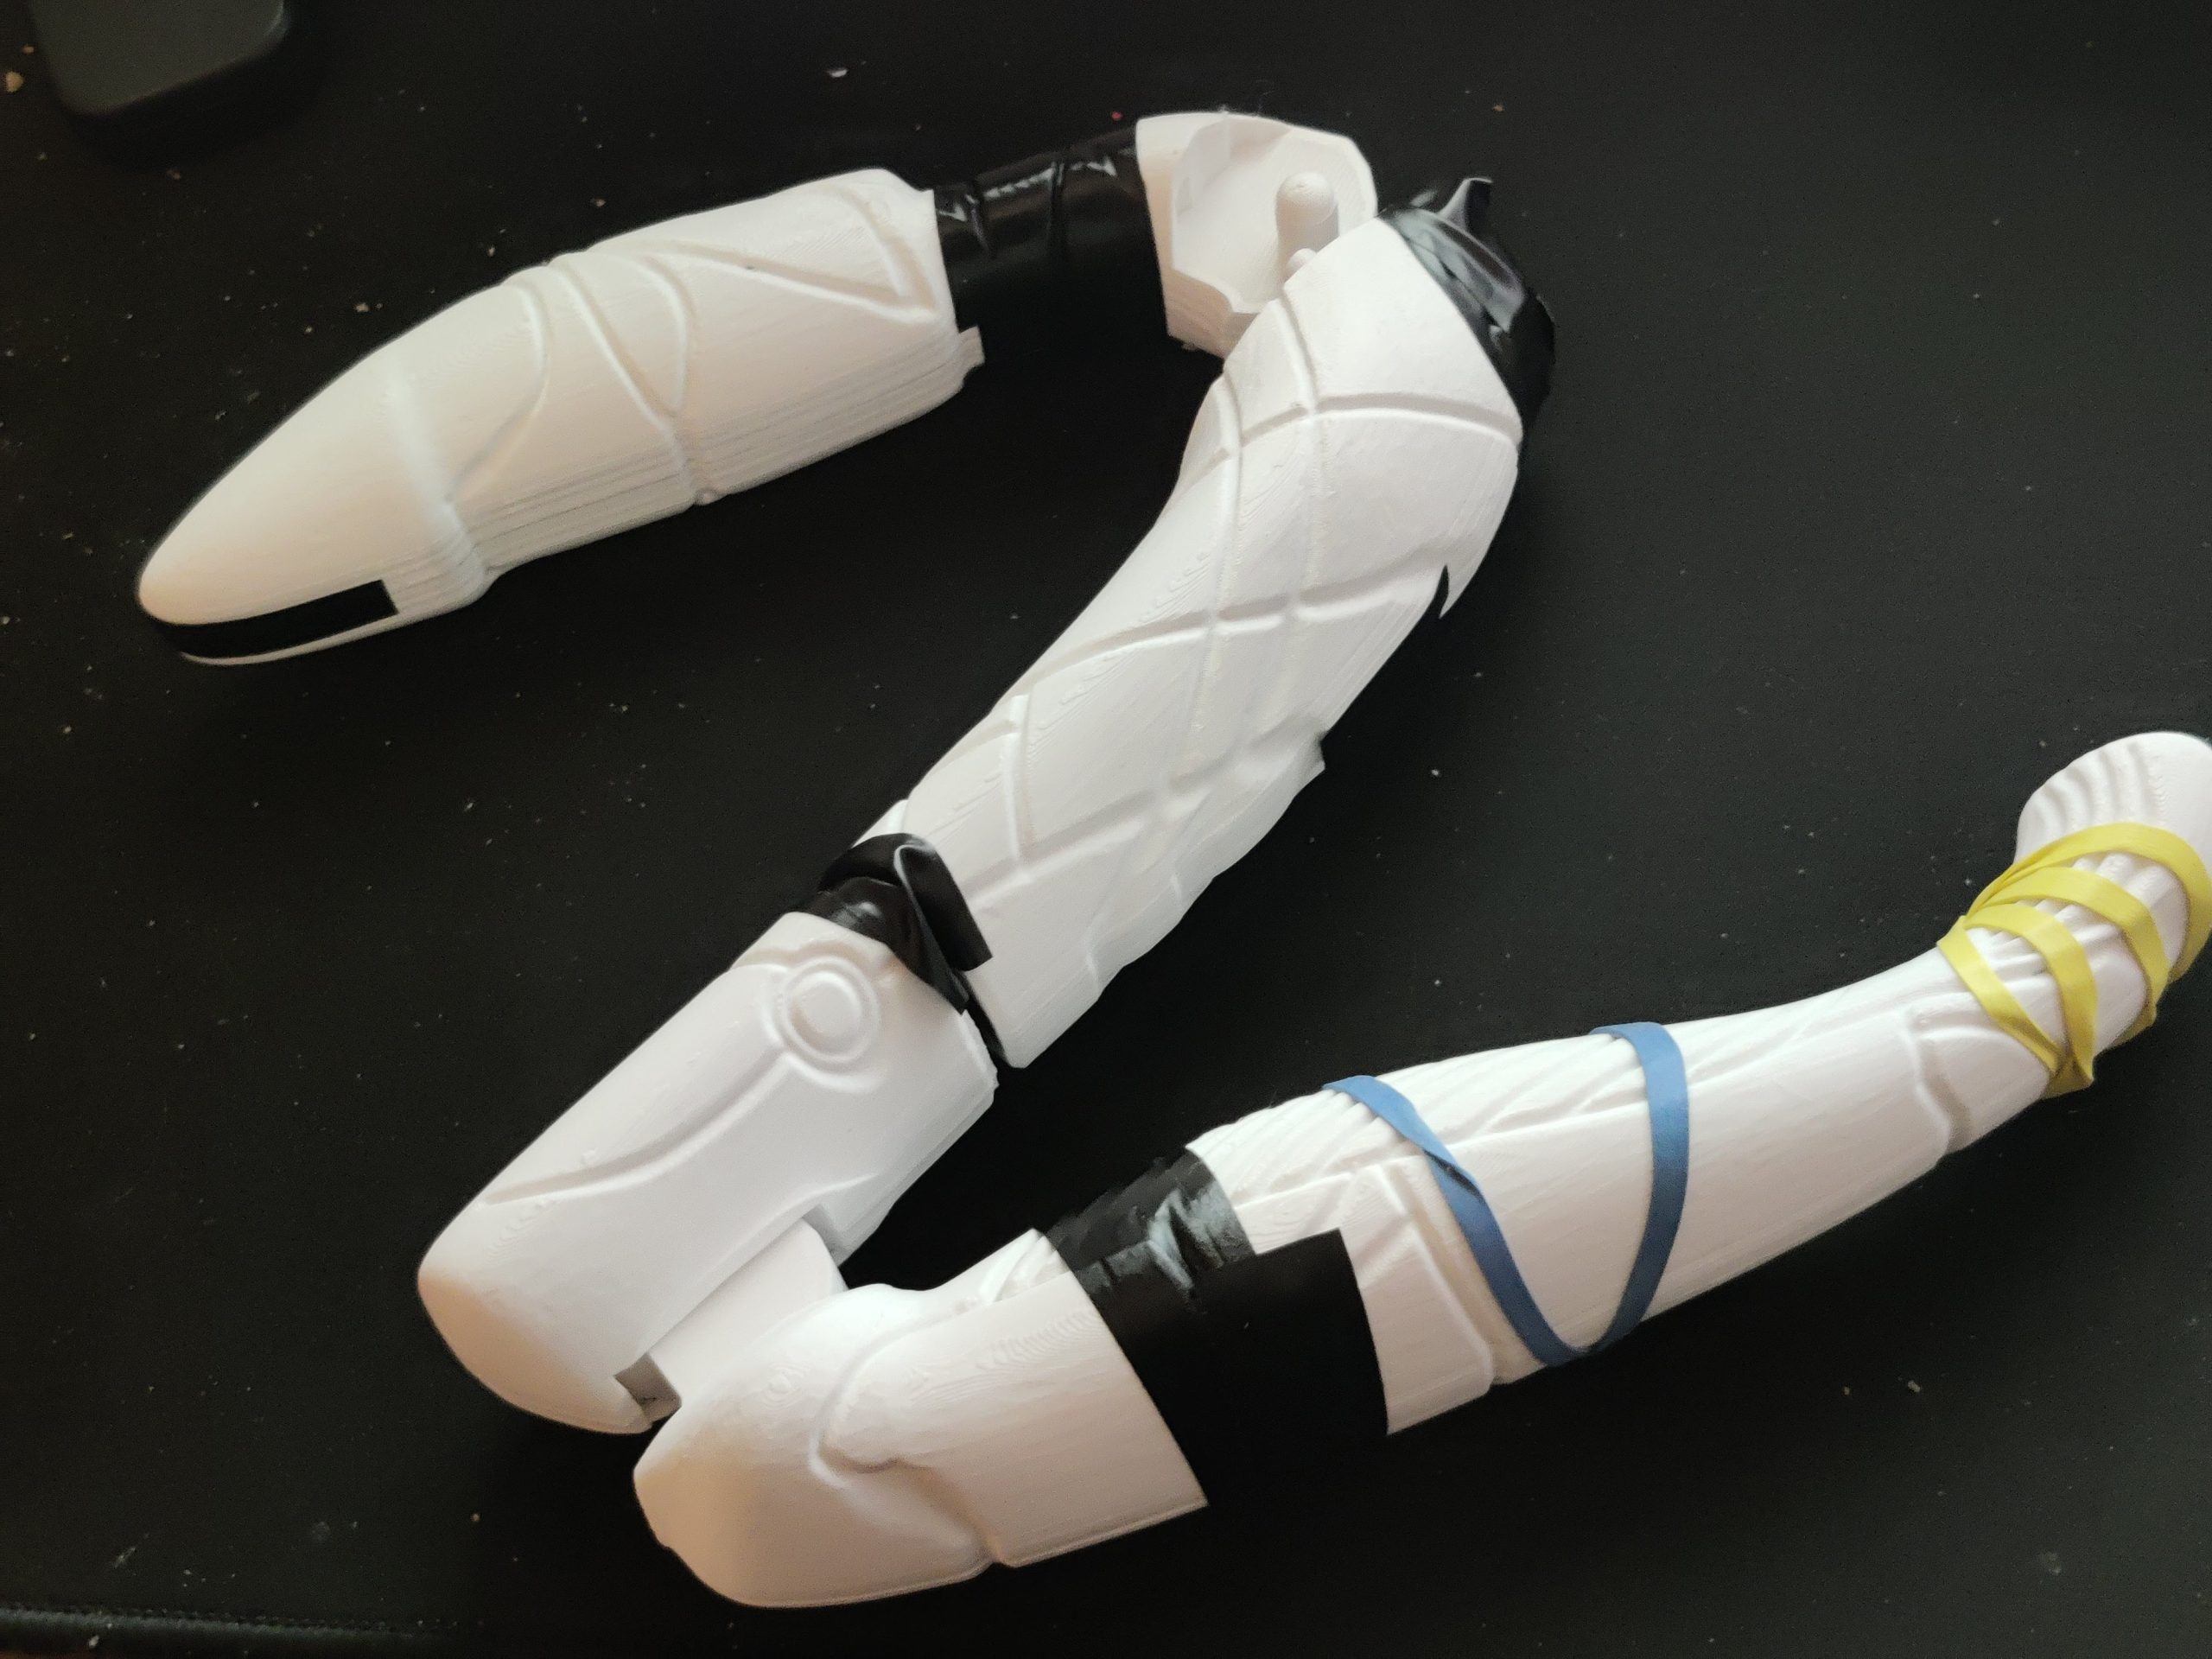
Sword Core
The blade is made from two long strips of 6mm EVA Foam (TNT). The core of the sword is a 3/8″ steel rod. The first step was to cut 2 pieces of 6mm foam to the rough width of the blade and cut out a channel with a rotary tool. This is the same method used for Sorsha’s sword as well.
In retrospect, it would have been smarter to put in two rods and leave the center open because of the fuller. If you look at it up close, you can see the rod through the foam since the fuller is on both sides. We could’ve also just shaded it a different color, but I think at that point it was too late for that.

The Scalloped Edge
The design of the scalloping in the edge of the sword is actually offset like it is in the movie prop. I left this part to Tom and he was covered in black EVA foam dust from head to toe. I stand by my decision!

The Scalloped Edge – Transformed
This is what the shape of the blade looked like after the scalloping was finished. You can see the scalloping on the edge looks really good here. Tom, was the main builder for both swords and had the patience to grind out each groove in the scallop with a rotary tool.

The Fuller
Grinding in the fuller was a two-person undertaking, because of the types of tools we had at our disposal. Tom’s drill press needed some maintenance and was out of commission for this. I bought a plunge jig for a drill and after some careful measuring, we locked the plunge depth and ground out the fuller with a round sanding bit purchased at Ax-Man Surplus. This is when we discovered the metal rod was a problem and was showing through if we went too deep, so ultimately we had to fudge the fuller a little bit.

The (Mostly) Finished Hilt
I made the guard piece and the attached rings and Tom made everything else. The rings aren’t rigid so it’s easy for them to get misshapen. I should have reinforced it with wire or used a more rigid material. The guard is butted to the blade with the metal rod going all the way through the handle. Tom stacked rings and shaped the handle and pommel.

Sword Frog and Holders
I bought 2 frogs for the swords. I kept the scabbard simple since I wanted the sword to be visible, even when it was in the holder.
I built an open box from styrene plastic and wrapped the interior and exterior with 2mm EVA Foam. The frog was designed for a smaller scabbard, but I made it work.