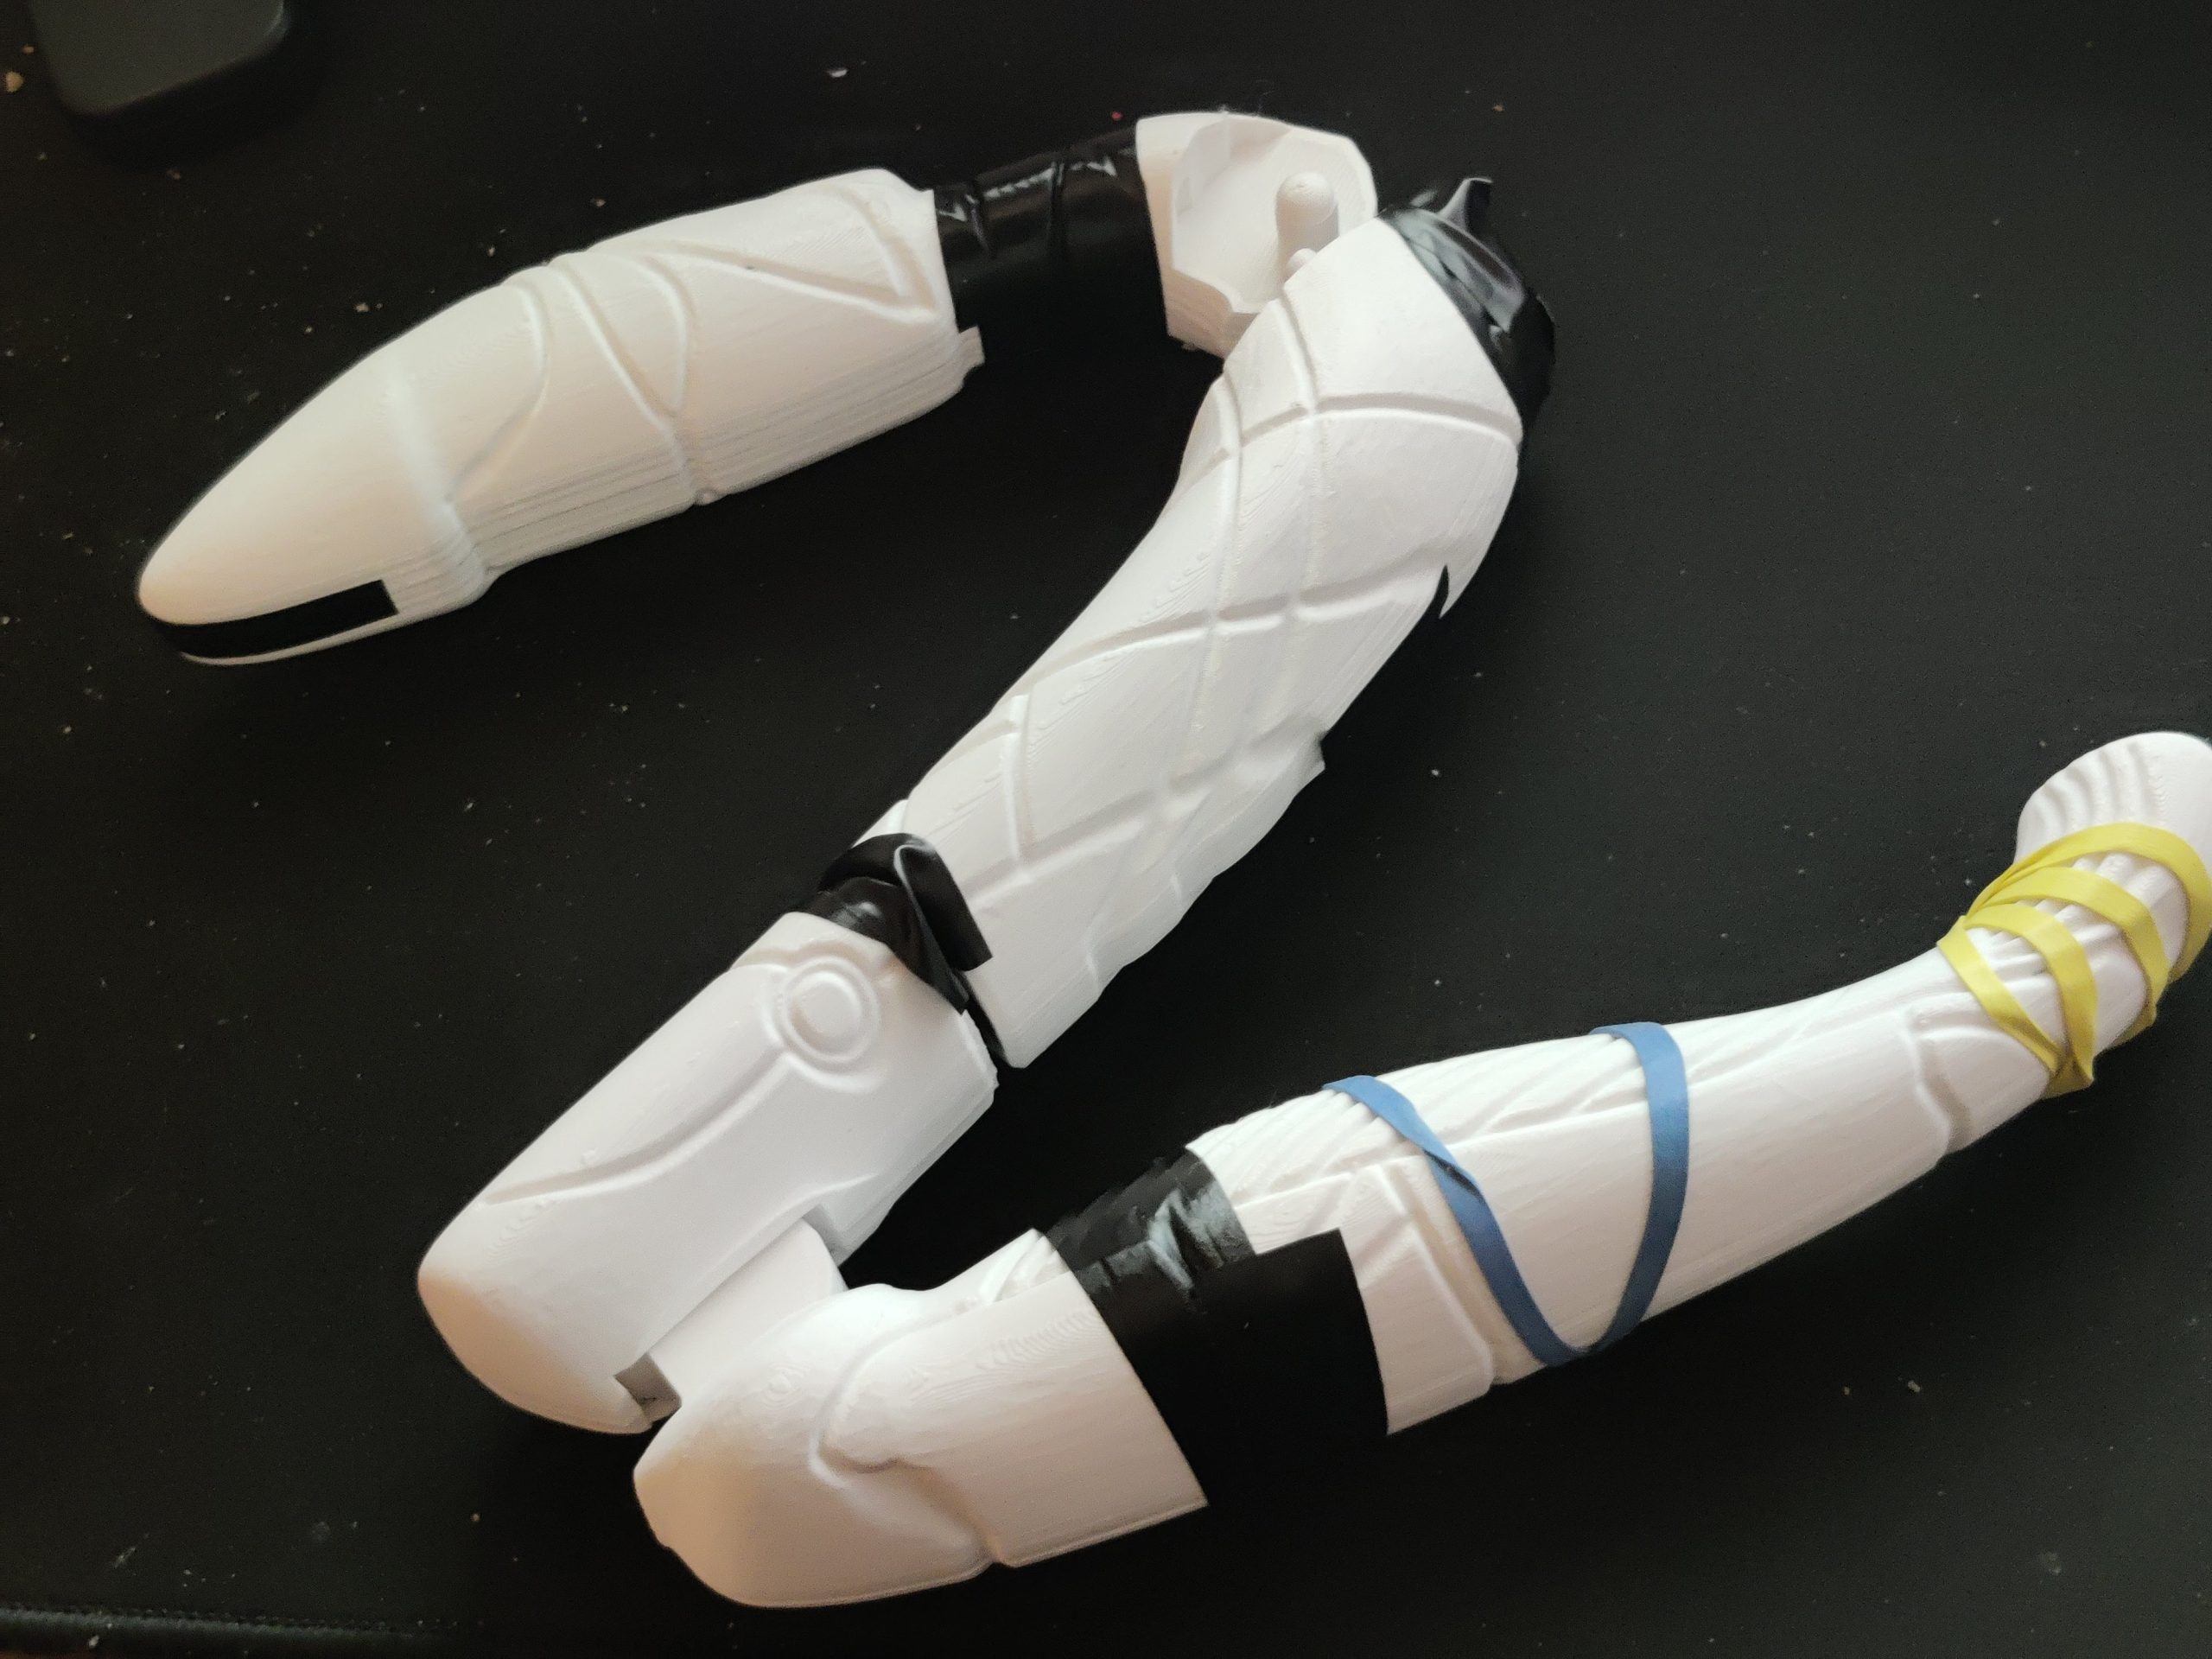
I spent a long time watching the Quantum Mechanix video featuring the never-to-be-released working Zat’Nik’Tel and I’ve been dreaming up building my own functioning version ever since. This is a work in progress. I printed most of the pieces hollow to fit electronics and a battery pack. I’m not sure if it’s doable with this particular model, but I’m going to give it a shot.
Tag: stargate
Stargate Mk2 with DHD

I started building a Working Stargate Mk2 with Working DHD and SFX, designed by Glitch. I’m slowly working my way through the Arduino and stepper motor configuration. The documentation for this project is not spectacular, but the framework is there and it was a fun puzzle to figure out. It’s definitely not perfect, but still workable.
Printer: Creality Ender 3
Filament: HATCHBOX PLA (Silver), Overture PETC (Black), Duramic PETG (White)
Adhesive: Bob Smith Thick CA Glue
Electronics: Arduino Uno, Arduino Nano, DFPlayer MP3 Player, Nema-17 Stepper Motor, Miscellaneous Electronic Components, 24AWG Stranded Copper Silicone Wire


Stargate Horus Head

The Horus headpiece was Tom’s masterwork. The pepakura model was covered in several layers of paper mache, following by many, many… uh, many… coats of Bondo. The result was a beautiful piece of art. Unfortunately, the Bondo made it fairly heavy we had to come up with a mounting solution. We used a large cell phone mounting plate and seriously strong neodymium rare earth magnets. This will be outlined in the related electronics post.


Stargate Jaffa Helmet
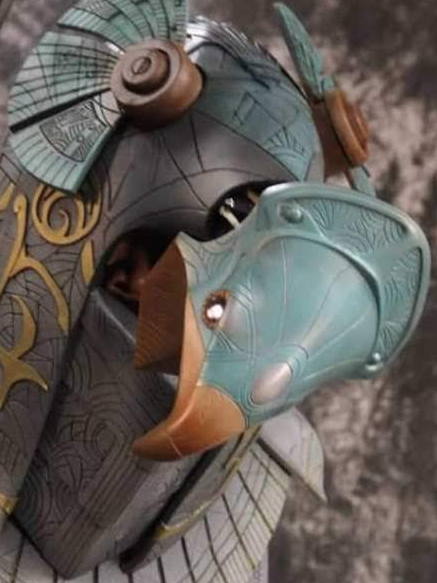
After discovering the plans by Honus for an Animatronic Stargate Helmet last summer, I became obsessed with making my own Jaffa uniform. The helmet was by far the trickiest part of the build. Funny thing is, it’s the first thing I started and the last to get finished. We were even fixing it on the way down to the Hall Contest Table at CONvergence. There’s a fair amount of detail required. FYI, the electronics will be covered in its own post. I need to gather up the resources Tom used for the electronics.
This took a lot of rework. A lot of it was because I hadn’t worked on this type of project before and, frankly, it was pretty ambitious for a first project. Misery comes in three: I ended up having to make most of the parts 3 times. The base of the helmet was built twice in Pepakura and a third and final time in 8MM EVA Foam from TNT Cosplay Supply. This took most of the roll to complete. I was still new to Pepakura and it took a lot of manipulating to get the printouts to complete the template. I also made 2 Horus and 2 Anubis Guard headpieces out of paper from the Pepakura files, which I ended up destroying with expanding foam. I learned a lot of lessons that day. That was also how I destroyed the first Pepakura helmet. The second Pepakura helmet didn’t fare much better and became deformed because of the spray foam (the correct one this time) and the hard safety hat I had glued in. The EVA Foam helmet was a much better fit.
I should also point out that some of the carved designs are not screen accurate. Frankly, I fudged a lot of it. I didn’t have enough reference photos to work off of, so I replicated the larger artifacts and freehanded the rest of the pattern carving. At the time, there was a huge time crunch looming with CVG2018 approaching.
Build Images


The unwanted gaps were filled with Kwik Seal. The lines were cut lightly, then hit with a heat gun to open the lines.


Stargate Jaffa Armor
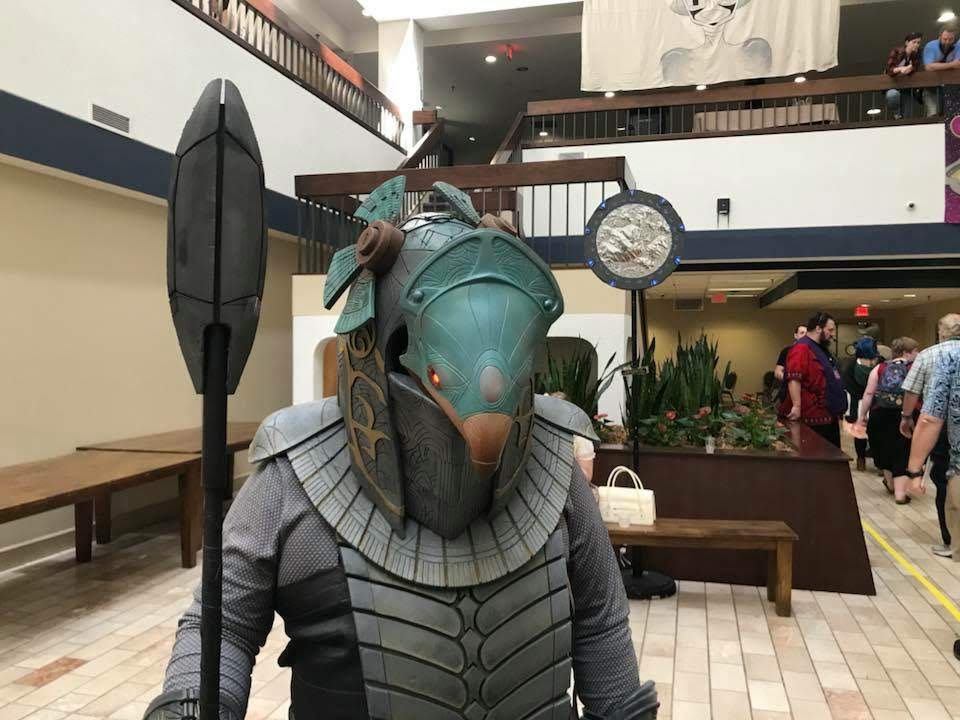
My costume was built from plans provided by p00k1333 on theRPF. The template files can be found in this post. I suspect he’s much taller than I am, so it took a little trial an error, but these plans are beautiful.

Honus’ Animatronic Stargate Helmet
https://www.instructables.com/id/Animatronic-Stargate-helmet/
Link to templates (on page 2) by p00k1333 on theRPF
https://www.therpf.com/showthread.php?t=226483