You played 2 hours to die like this? - In-Game Taunt, Age of Empires 2

Ender 3 Enclosure

I built an IKEA LACK Enclosure for my Creality Ender 3.

This was my compromise instead of buying another 3D printer to collect dust in my craft corner while I neglected to even learn the basics. You got me… I wasn’t really going to buy another printer.

I also switched to using PETG Filament which is easy to work with at lower temperatures and less problematic than ABS. 3D printing works more reliably without a lot of temperature fluctuations, in general. I spent a lot of time researching so I could calibrate my prints. After fixing a problem with underextrusion, my prints have been coming out worlds better.

I built my enclosure from three IKEA LACK tables in black and a set of CAPITA legs. These bad boys set me back around $46 with tax. There were only 138 left in stock so of course I got there before they ran out! I did seriously consider the $10 delivery fee, but I would’ve missed out on the joy losing my car in the parking ramp and driving in sleet and ice.

LACK Table – https://www.ikea.com/us/en/p/lack-side-table-black-20011408/
CAPITA – https://www.ikea.com/us/en/p/capita-leg-stainless-steel-60263574/

I sandwiched the first 2 tables together with 7 out of the 8 legs, leaving the front open for storage. The last leg, I cut into 4 equal pieces to extend the next tier. My printer needed about 17″ for clearance and I wanted a little room overhead. I ended up with just a little under 20″ of height for the printer.

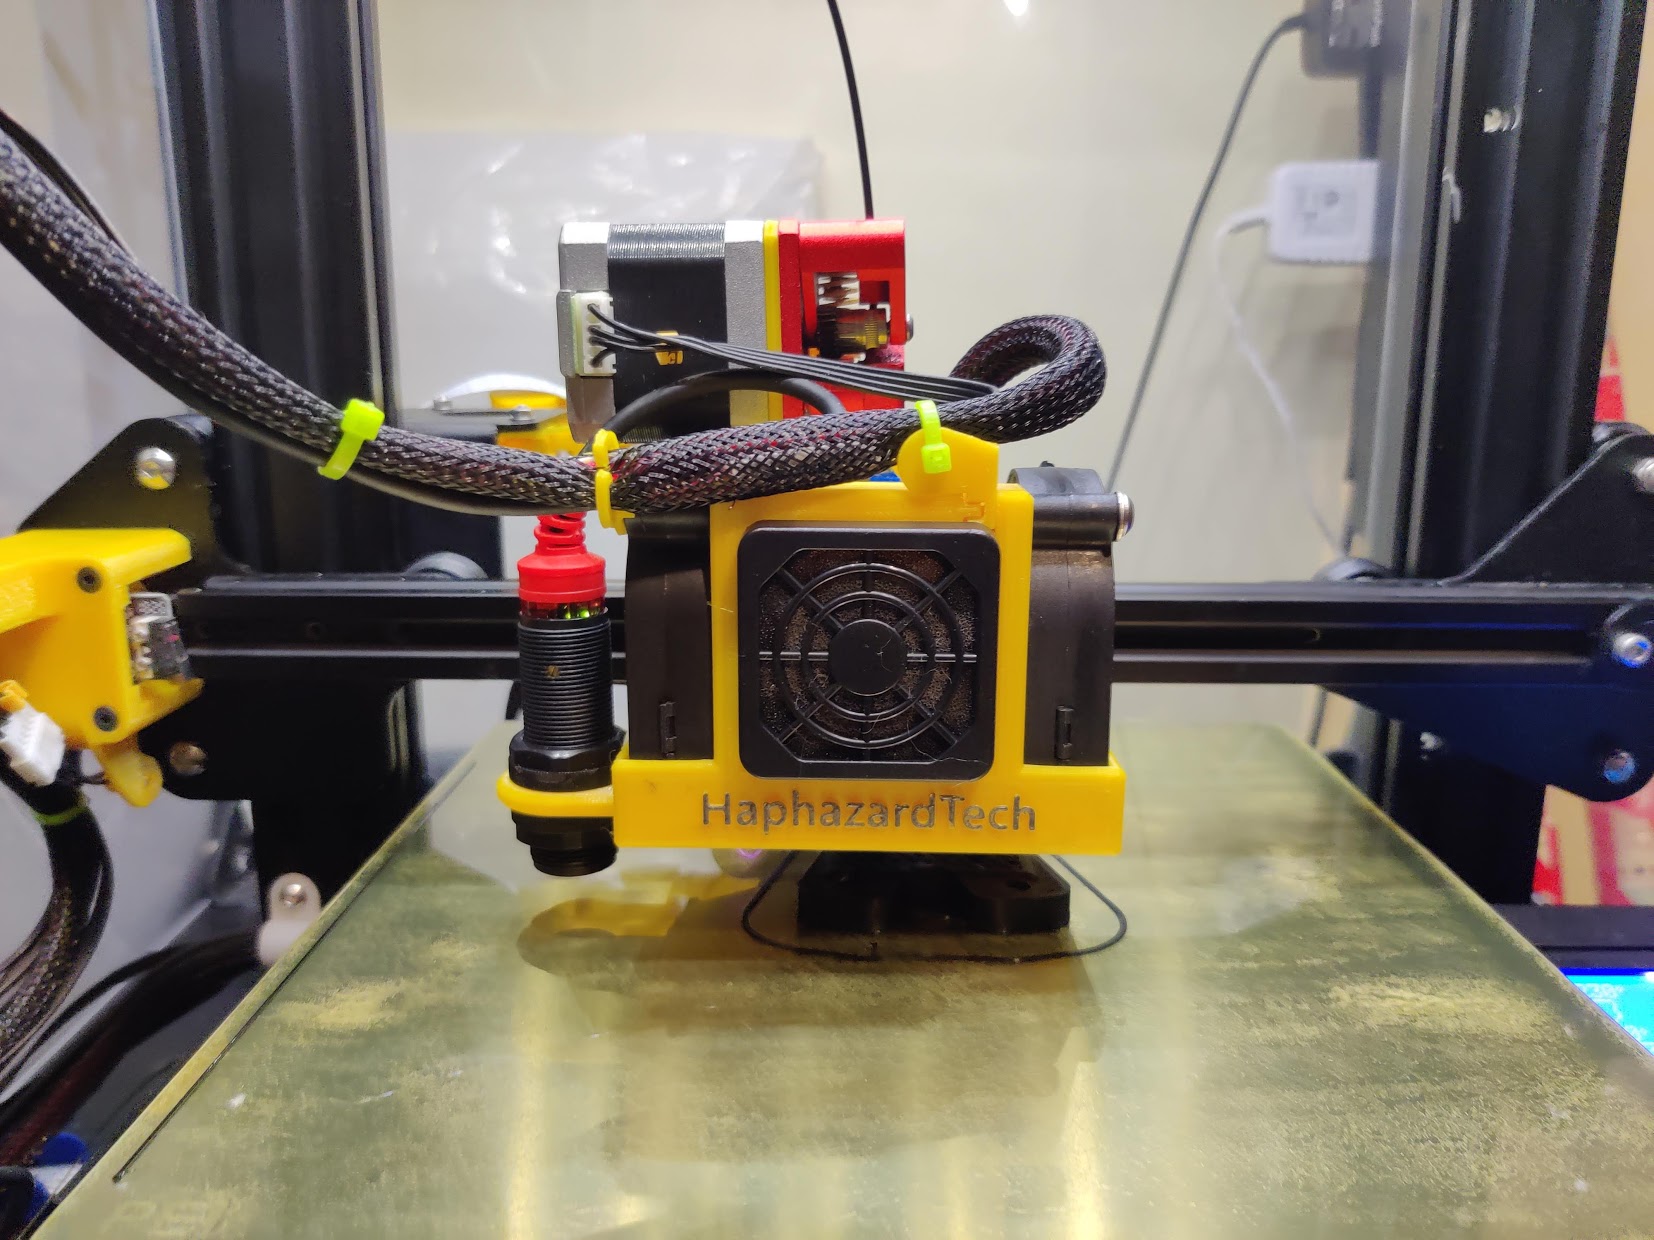
OK. I got a little lazy with this build log from here on out! Take a look through the images for build notes.

This double screw holds the legs onto the table. There is *just* enough wood there to be stable.
The tables are mostly layered cardboard with more paper and a little bit of particle board for support. I wouldn’t stand on it to change a light bulb but it works pretty well for a printer stand.
I attached cleats for the leg extensions. Yup, it’s a piece of leftover wood from my cat tower project.
Round 1: Fight! This worked kinda OK a removable top but I wanted something more structurally sound. Also the quality of this (we’ll just call it wood) isn’t that spectacular so it react well to be taken apart.
I opted for more cleats. It gave me something more substantial to attach the legs and corner supports to.
I added lights. It’s a set of Patriot Lighting RGBW 12V lights I bought from Menards with no real purpose in mind. They are craptacular. Don’t buy them. Seriously. They soldered a whole bunch of small sections together. I spent more time desoldering than I care to admit.
The lights aglow with a purple haze.
Added 4 plexiglass panels including a door with 3D printed hinges/handle.
Double magnets for the sides and back panels. The tops have M3 nut knobs for easier panel removal.
I discovered I had one of the early Ender 3 models with bad XT60 connectors. The negative terminal was melted and fused together.
Another shot of the XT60 Connector
I found telltale signs that my extruder was underextruding. Tested and found it was short by 3mm with my PETG filament. I had similar problems with my PLA filament as well.
Top-feeding filament spool. Still need to build a dry box around it. That’s my Octoprint server next to it. Raspberry Pi 3B+ with Octopi Stretch image.
Printed Filament Spool base stand.
Remote for my 12V Cabinet lighting system fitted with leftover badge magnets.